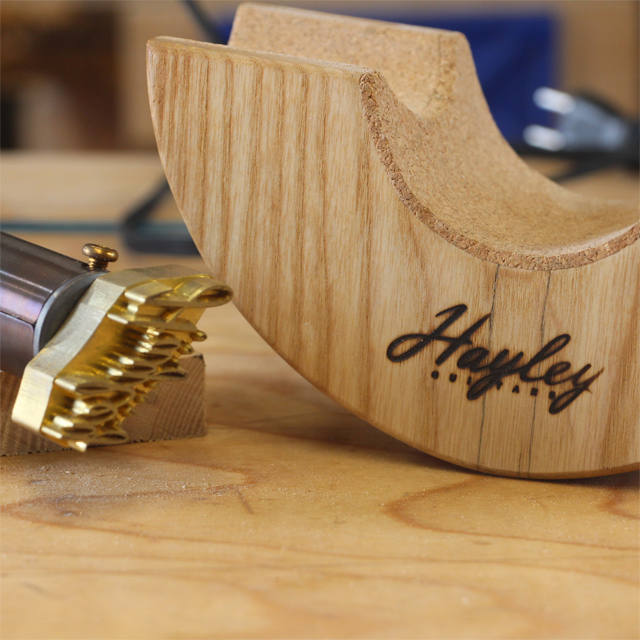
Today, its an unboxing video. Yes, thats correct. I wasn’t going to do it, but I couldn’t resist. I was too excited to get this Branding Iron to not share it.
I want to preface this post with the fact that I purchased this Branding Iron myself. This is not sponsored at all, nor was there any discounts or anything given. I paid the full price for this item. I have no other interests other than sharing my experience with you. OK, lets get back to it.
I have been wanting a branding iron for a little while now. I want to be able to mark the headstock on Hayley Guitars, as well as other items for Home Built Workshop. I follow Budget Brandings on Instagram and liked their work so I reached out to them with some questions about the sizes and artwork. They were awesome to work with and helped me iron out some details. I placed the order and waited. It took a week or 2 before I got my shipping notification. Since they are in Canada, the shipping took a little while before being delivered.
Once I got it it was time to check it out. I actually took the time to read the instructions. I know, I know. I really didn’t want to chance any damage to this iron after paying my hard earned money for it. After understanding it, I fired it up and branded something. OK, I branded everything! This is so much fun. Plus, I had to practice with it right? LOL.
All in all, this branding iron is awesome. The level of detail they are able to achieve is awesome. It would be cool to see how they machine such small parts. I’m very happy with this iron, and it has already gotten a bunch of use, and several items have already left the shop with my mark on it.
If you’re looking for an iron, either torch heated, or electric, definitely have a look at Budget Brandings. I don’t think you’ll be disappointed.

