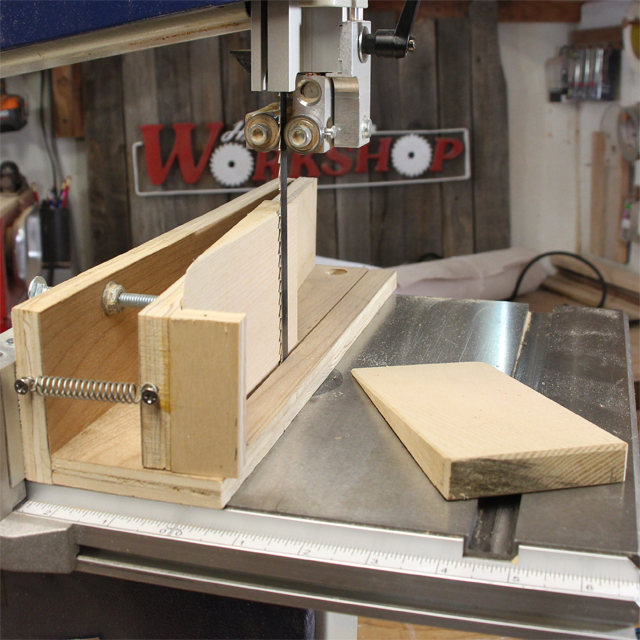
Since I’ve recently started using an Alaskan Chainsaw Mill to mill up some lumber, I’ve had the need for some wooden wedges. These wedges are used to keep the kerf of the saw open which prevents pinching of the bar during the milling process. I made a few of these wedges by freehand cutting them on my bandsaw. They work just fine but I want the ability to quickly and repeatably batch out more as they get worn out. I decided that a jig dedicated to this task would be the way to go.
I searched around the scrap pile and dug up some offcuts of 1/2″ plywood. This would be plenty strong enough for the task at hand. After taking a few measurements, I cut some pieces to length and glued them together at 90 degrees. Next, I attached another piece with a hinge at one end. This will be the adjustable angle fence. After gluing on a small cleat that will act as a push block, I drilled a countersink for a 1/4″ x 20 nut. This will allow me to use a bolt to precisely adjust the angle of the taper. Next, I installed a spring at the very end of the adjustable portion. This keeps a bit of tension on the pivoting fence so that it remains in the same place at all times.
Thats all there is to it. The taper jig is ready for a test cut. It works awesome. I have mine specifically set up for cutting these wedges but with a few minor modifications, this idea can be used for a bunch of different applications. To see some of the things you could change, make sure to watch the video all the way to the end. Thats where I offer some suggestions. If you have a need to make taper cuts on the bandsaw, a jig like this is definitely worth taking a few minutes to make.
Check out the build video below.

