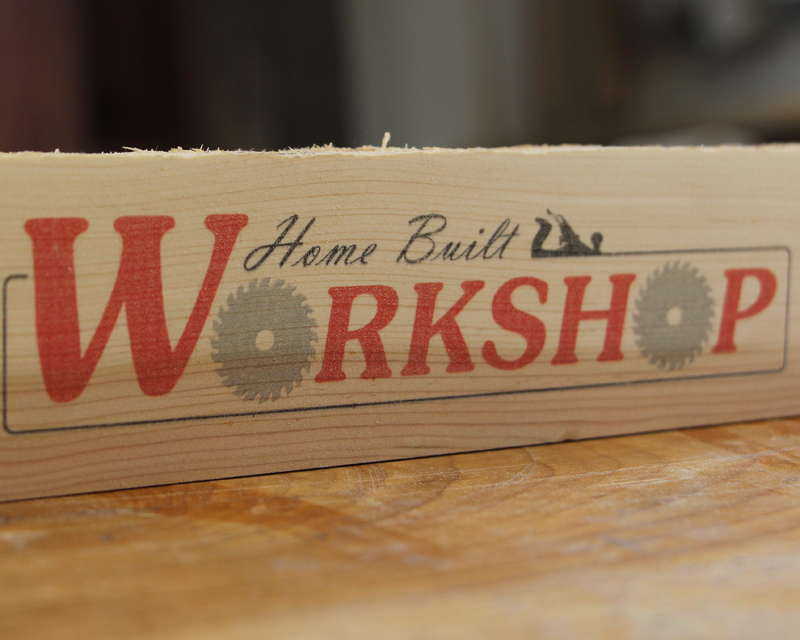
Here’s a fun way to transfer an image onto wood using your ink jet printer. This is a great way to bring some colors into your project. It also works well when you need to transfer a pattern onto a project for cutting, carving, or whatever. Its super simple to do.
To do this transfer you’ll need a sheet of labels that can fit in your printer. You’ll need to remove all of the labels from the page so you have the coated backing left. Place the empty sheet of labels into your printer and print your image on the coated side of the sheet. Make sure you print in the highest quality you can so you get the most ink on the page as possible. This will give you the best image quality and color transfer. One thing to keep in mind is that you need to print your image as a mirror image especially if there’s text. After you print the image, you can trim the excess to fit your project. You then place it face down on your piece and tape it securely in place.
Be very careful to not smear the ink when you place it on your project. This is why I like to tape it down as I go.
Now that your piece is secured with tape, grab a J Roller (if you have one) and roll the back of the sheet to transfer the ink to the wood. If you don’t have a roller, you can use your hand. Just be careful to not smear the paper around. After a few swipes across the paper, carefully remove the paper and enjoy your newly transferred image.
This is a fun thing to try and a great way to add a splash of color to your work.
Check out the video below.
https://youtu.be/sMkll4PAxg8
— Affiliate Links to Products Used —
J Roller – https://amzn.to/3c1pQgE
Ink Jet Labels – https://amzn.to/39SxZT9
Masking Tape – https://amzn.to/3aVDxxw
Here are some other videos you might enjoy
Visit my YouTube page for tons of other projects

