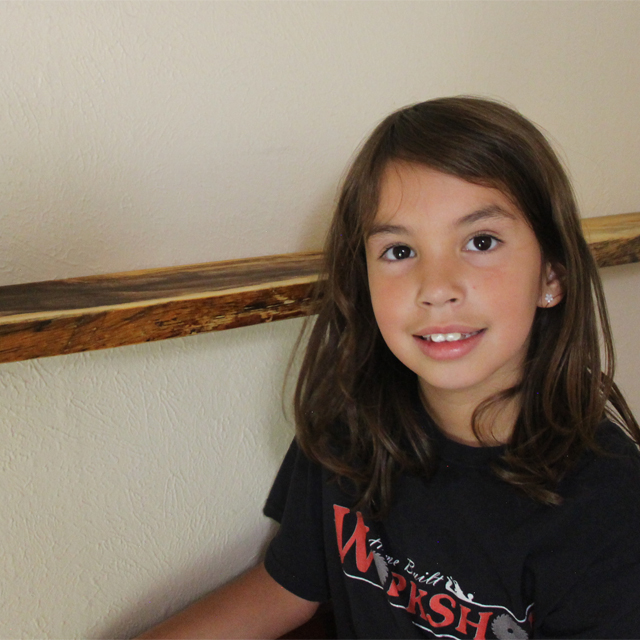
We recently reconfigured my Daughters room and now she is missing a bedside table or somewhere to put some bedside things. We changed her bed to a loft bed so a table now just won’t work. A floating shelf above her bed should work awesome.
I found a piece of Beetle Kill Pine harvested from the Colorado Mountains that was just the right length. It was a little too wide so I first ripped it down to the width I wanted. Then I drilled holes in from the back of the piece. These holes are for some dowels that will get installed later. Now to make the bracket that connects this to the wall.
One of the things I like about this design is that you don’t have to use any external fasteners because the back of the board becomes the bracket. I’m now going to rip off about a 1 1/4″ strip from the back of the boards. This will be the mounting bracket. Now I’ll cut some hardwood dowels and glue them into the holes we drilled earlier on the bracket. These will slide onto the rest of the board and hold it together on the wall. The shelf is basically done. Just a little sanding and your finish of choice can be applied.
Now, just secure the bracket to the wall, and slide the rest of the shelf onto the dowels. We had to use a hammer to get it all the way on. It turned out awesome and Hayley loves it. (although not the smell of the finish, LOL)
This is a pretty fun little project that really doesn’t take too much time to complete. Check out the build video below.
— Affiliate Links to Products Used —
Dewalt Circular Saw – https://amzn.to/2sB6RV
Irwin 12″ Bar Clamp – https://amzn.to/2RQd6TD
Starrett Combination Square – https://amzn.to/2WOQy5k
Machinist Square – https://amzn.to/2MNoeLN
Estwing Rubber Mallet – https://amzn.to/3llx7NR
Drill/Countersink Set – https://amzn.to/2CUWBQx
Soft Brass Wire Brush – https://amzn.to/34qOaYE
Here are some other videos you might enjoy

