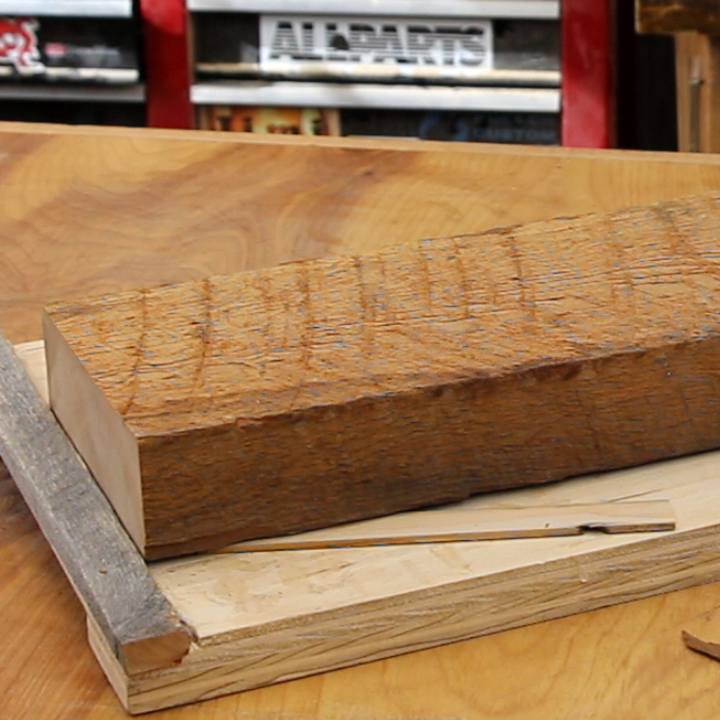
I’m getting ready to use a very special piece of cherry for a project. This cherry board was stashed away by my Grandpa at least 25 years ago. He stored it in his attic to dry and it sat there until I got the chance to bring it to my shop. Since it was sitting in the attic all alone, it warped pretty bad and now that warp needs to be dealt with.
My first step in the flattening process was to cut the pieces down to their rough length. This makes them much easier to work with and also limits the amount of twist in every board. If I were to leave them long, the amount of twist at each end is much greater than the smaller pieces. The twist of the shorter pieces is, in my case, about 1/3 that of the longer board. This means I’ll need to remove less material from each piece.
Now I can grab my homemade planer sled, which consists of a piece of 1/2″ plywood with a couple strengthening runners glued on and a small cleat at the end, and place one of the twisty boards on it. Using some small wooden shims, I’ll shim the warped ends of the board until the piece doesn’t rock and is nice and solid on the sled. I’ll then use regular hot glue and glue the shims and the board in place. Now we’re ready to run the sled through the planer, or drum sander and flatten one side.
With one flat side, we can remove the piece from the sled, flip it over and run the newly flattened side down to flatten the opposite side. Now our warped board is nice and flat, and both sides are parallel. Now its ready to be worked as normal.
I hope this simple technique of flattening a warped board is helpful to you. Please check out the video below for more details on the process. Thanks for stopping by.
— Affiliate Links to Products Used —
Stanley Hot Glue Gun – https://amzn.to/2v0dG7Q
Hot Glue Sticks – https://amzn.to/2vx8Dw0
Porter cable 12″ Planer – https://amzn.to/3e0Af0m
Here are some other videos you might enjoy

