
A few weeks ago, I began building a bass guitar. The first installment was making the body. This week, the project continues as I begin working on the neck. If you’d like to see the body build video, you can check it out HERE so you are up to speed on this project.
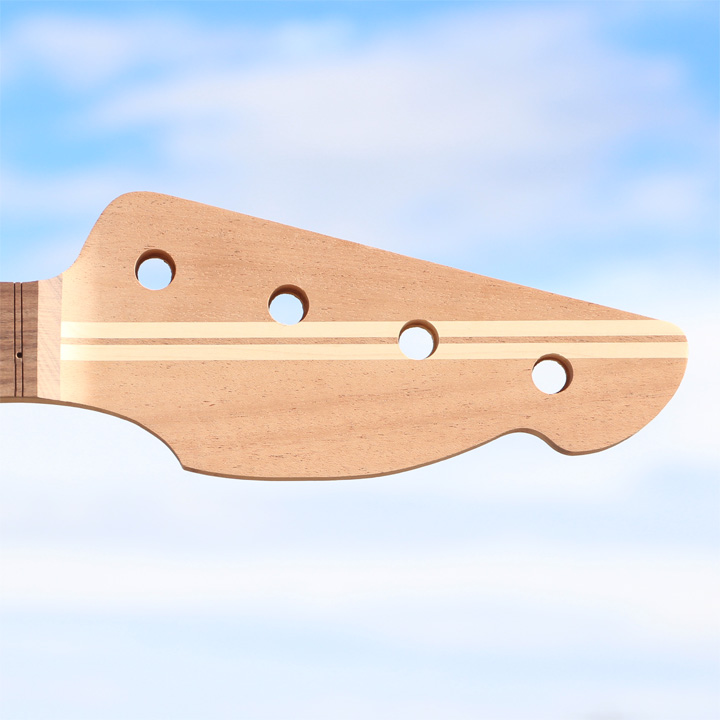
For this neck build, I’m using the offcut of mahogany from building the body. I resawed the piece and used it to make the neck blank. It ended up being a bit narrow so I cut some strips of hard maple and mahogany and added them to the center. This looks cool as well as adds a bit of strength to the neck. I then got it cut out and routed flush with my template. I then routed the truss rod channel as well as the 1/8″ channel for the carbon fiber strengthening rods. After milling up and slotting a rosewood fretboard, I got it glued into place using some toothpicks as pins to keep the fretboard in place while the glue dried. Then I thinned and sanded the headstock and drilled the tuner holes.
The very next thing I need to do is rout out the relief for my logo in the headstock. In order to do this, I need to make a new jig to locate the router in the correct place. I have a few things I want to share with you about that process so I’m going to do that in a separate video. Stay tuned for that.
Here’s the bass guitar neck build up to this point.
Thanks for stopping by.
— Affiliate Links to Products Used —
Titebond Original Wood Glue – https://amzn.to/3mzxENm
Infinity Mega Flush Trim Router Bit – https://amzn.to/3Do1E5H
Stewmac Fret Slotting Saw – https://amzn.to/2ZYYkzo
Stewmac Fret Slotting Miter Box – https://amzn.to/3AjY7TT
Ridgid Oscilating Spindle Sander – https://amzn.to/3DmOqpJ
— Here are some other videos you might enjoy —
