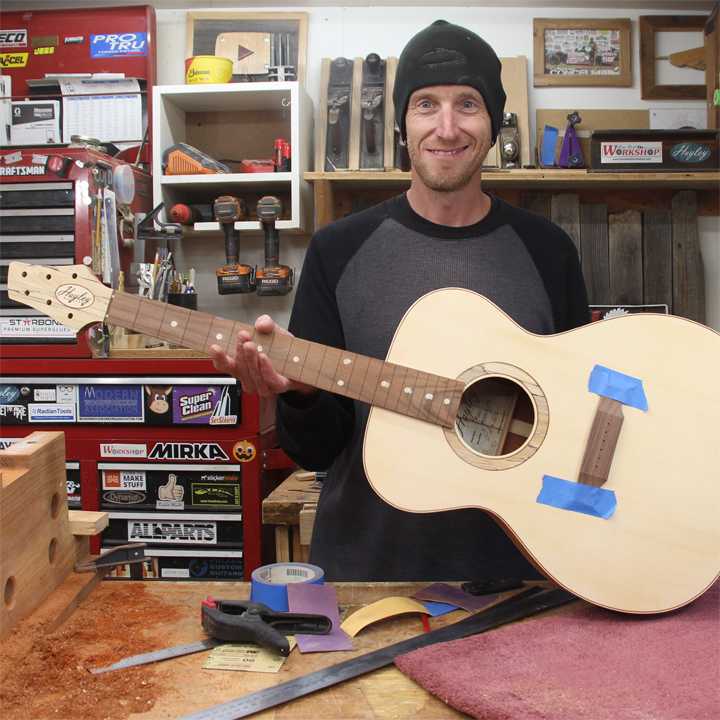
I am getting to the point of the acoustic guitar build where I can start to see the finish line. The biggest hurdle right now is the neck. I need to get the neck and fretboard done so that I can prepare for the finishing process. I’m trying to knock out a lot of work in this episode.
The first step is to cut the mortise and tenon using a jig made by my friend Matt at Zimbelman Guitars. I used a flush trim bit to cut the mortise and tenon and then started right in on the heel cap. I 3D Printed a template for the heel cap and used that to rout out a piece of spalted maple. After gluing the cap in place I started making the rosewood fretboard. Once I cut the piece to size and cut the fret slots, I installed the brass tube and seashell fret markers. While the CA glue dried on the markers, I was able to get the bridge shape roughed out. Next, it was time to glue on the fretboard, followed by the most exciting step, hand carving the neck.
I used a combination of rasps and files to shape the neck followed up by a ton of sanding to get the shape. Once that was finished I was on to the task of adjusting the angle of the neck heel by flossing the joint with sandpaper. This was the most tedious task to date but I was able to get the neck angle and alignment right where it should be.
I got a lot done this time around and am now at the point where I need to get the finishing step figured out. Stay tuned to the next episodes to see how that goes.
Here’s the whole video.
— Affiliate Links to Products Used —
Shinto Rasp – https://amzn.to/3O0C64V
Nicholson Needle Files – https://amzn.to/3DSayu4
Mirka Sandpaper Assortment – https://amzn.to/3A9nD17
Mirka 80 Grit PSA Sandpaper – https://amzn.to/3E3Wy0x
Stew Mac Fret Slotting Saw – https://amzn.to/3fW62mf
Fret Slotting Miter Box – https://amzn.to/3E3BN4S
Machinist Square Set – https://amzn.to/3tlxgpp
Quick Grip Clamps – https://amzn.to/3TsOSuq
Creality Ender 3 v2 3D Printer – https://amzn.to/3O0Q8DC
— Here are some other videos for you to enjoy —


