
Welcome to one of the few final steps of the acoustic guitar build. Its time to apply the finish. I’m applying the finish before I glue the neck and bridge in place. That way, I’ll be able to get to all areas of the guitar to polish them, but also because I will be spraying the finish. By spraying the finish, I eliminate having to wipe any finish across the Padauk and staining the maple or spruce. Padauk can be a bit funny like that. The red dust gets everywhere.
I started off by applying several coats of grain filler and sanding it back. This is an important part to getting a nice flat surface. Then I sealed it all in with some Crystalac amber tinted sanding sealer. Since I will be spraying a water based finish, I wanted that hint of amber on the wood. Water based finishes don’t typically give that amber color you see from oil finishes. After giving that a light sanding I sprayed on about 4 coats of clear gloss, water based lacquer. When the spraying was complete, I hung the neck and body up in the house to cure for 2 weeks.
While the finish is curing, I decided to complete the bridge. First, I need to route the saddle slot. I found a free plan offered by Anders Westfall on YouTube. After getting his plan, I redrew it in Fusion 360 and used the new CNC Machine to cut the jig from some MDF. This jig allows me to use my rotary tool router base to very accurately cut the saddle slot at the exact angle I need. It worked awesome. Check out Anders Channel Here.
Next, I could drill out the bridge pin holes, and add a countersink to them. After a bit if final sanding, the bridge is complete.
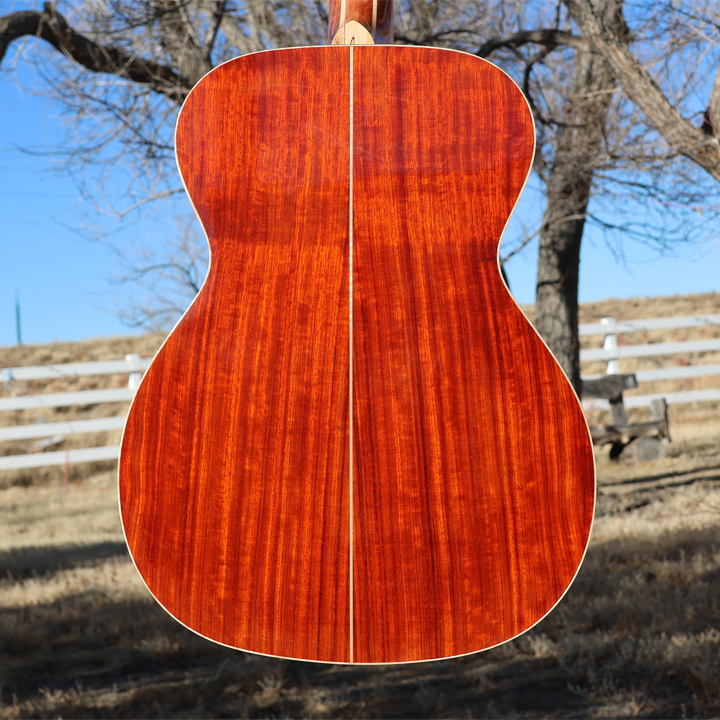
Once the finish had fully cured, I began the process of wet sanding and polishing the clear lacquer. I use the 3M Perfect-It polishing pads and compound. This is a 3 step system that does take a bit of time, but the results are amazing.
With the body and neck nice and shiny, It was time to add some glue to the bridge and glue it in place. Several bridge clamps and protective cauls held it down. Once that was dry, I checked my neck alignment and glued the fretboard extension in place. Now its really looking like a proper guitar.
Its time for the final assembly, but that will come in the next, and quite possibly the last installment of this series. Check out this process in the video below.
— Affiliate Links to products used —
3M Perfect-It polish – https://amzn.to/3hnkd4q
3M Perfect-It Pads – https://amzn.to/3BrwWtU
Milwaukee M12 Polisher – https://amzn.to/3UPmsLw
3M Micro Fiber Cloths – https://amzn.to/3BpwTib
— Here are some other videos you might enjoy —
