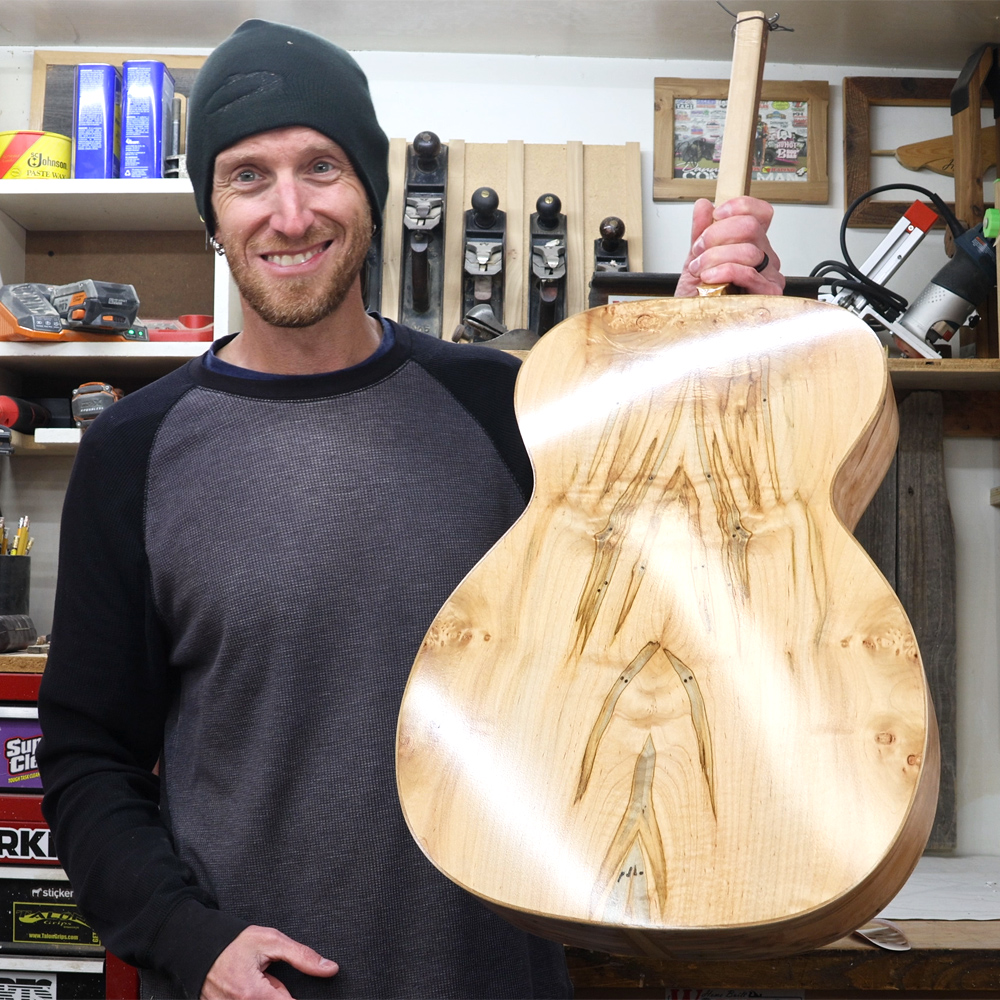
With the neck shaped and the bridge roughed out, its time to set the neck angle and start the finishing process. I’ll begin by flossing the neck joint to get the centerline of the fretboard to line up with the centerline of the body. Then I’ll adjust the tilt of the neck to be about 1mm above the top of the bridge. Once that’s complete I can begin the final sanding. I added some grain filler to the binding to ensure a smooth finish. Then I sprayed a couple coats of Amber Tinted Sanding Sealer before spraying on the water based clear lacquer. With that complete, I can now set these parts aside for a week or 2 and let the finish cure.
— Affiliate (Commissions Earned) Links to Products Used —
Mirka Sandpaper Assortment – https://amzn.to/3A9nD17
Aqua Coat Gel Grain Filler – https://amzn.to/3SCtHcg
Crystalac Amber Sanding Sealer – https://amzn.to/46e4IiN
— Check out these other videos —


