
With the neck shaped and the bridge roughed out, its time to set the neck angle and start the finishing process. I’...
READ MORE
With the neck shaped and the bridge roughed out, its time to set the neck angle and start the finishing process. I’...
READ MORE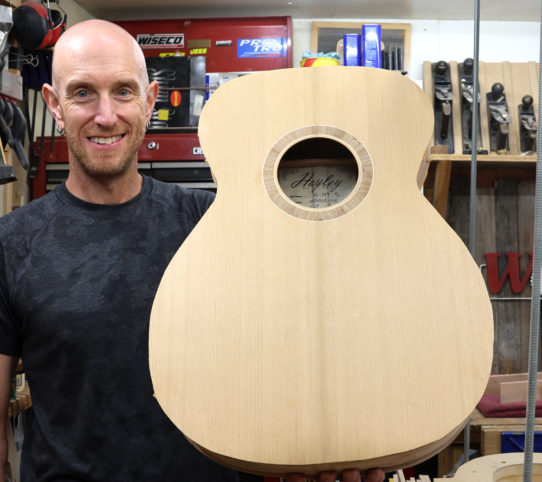
Its time to close the box on this acoustic guitar. I’ll be installing my Hayley Guitars label, then notching the S...
READ MORE
I’m at the point in the acoustic guitar build where I’m now ready to bend the Ambrosia Maple Sides. I finall...
READ MORE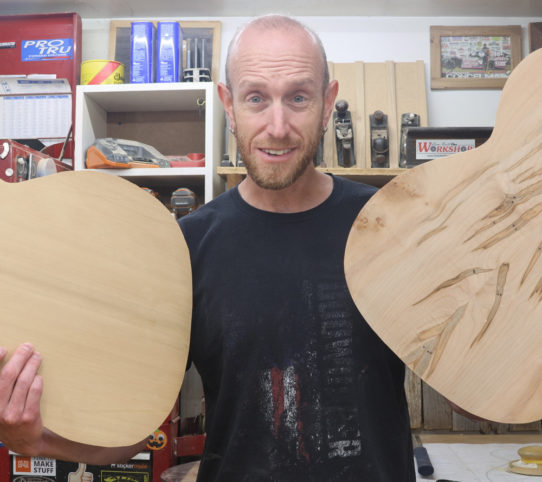
Its time to start in on a new acoustic guitar build. In this first episode, I’m getting the plates joined and roug...
READ MORE
Since I’ve completed my first acoustic guitar build, I’ve been thinking about the process quite a lot. I dec...
READ MORE
Welcome to one of the few final steps of the acoustic guitar build. Its time to apply the finish. I’m applying the...
READ MORE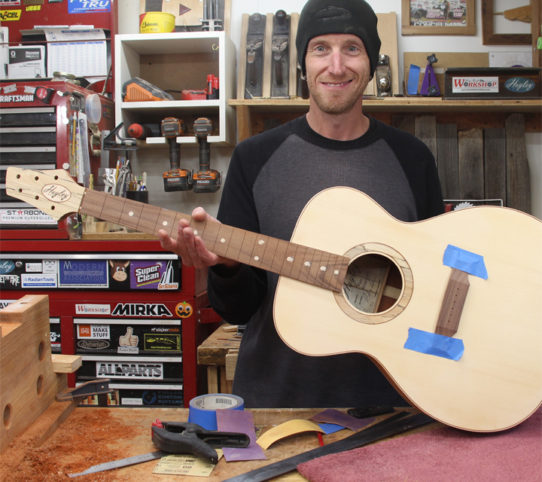
I am getting to the point of the acoustic guitar build where I can start to see the finish line. The biggest hurdle righ...
READ MORE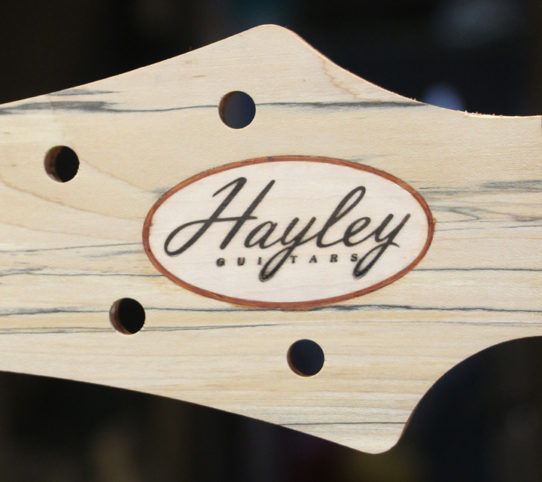
Today is another step forward for the acoustic guitar. This time, I’m focusing on getting the logo inlay installed...
READ MORE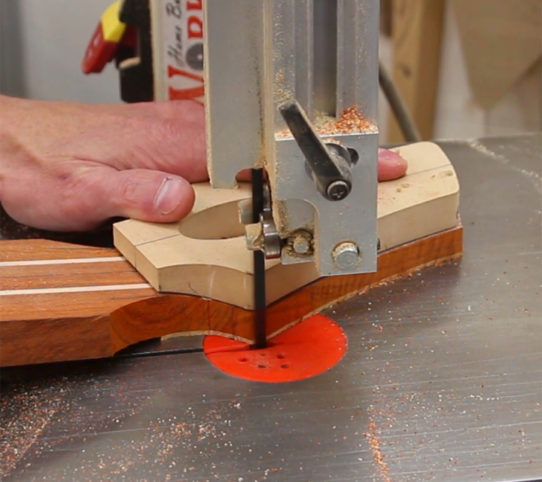
With the body of the guitar completed, its time to start on the neck. I’m working with a neck blank that my buddy ...
READ MORE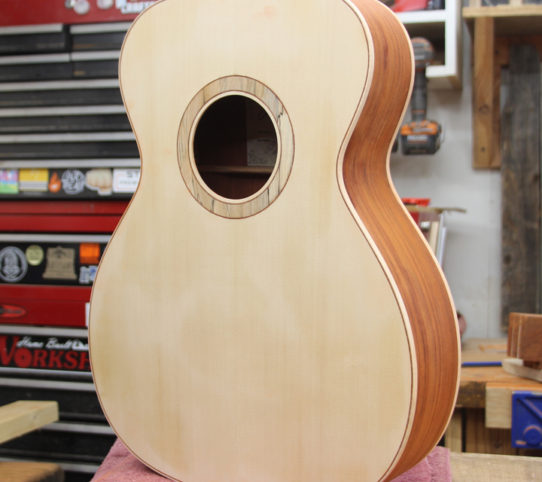
With the guitar binding jig completed, Its now time to put the jig to work. I’m ready to cut the binding and purfl...
READ MORE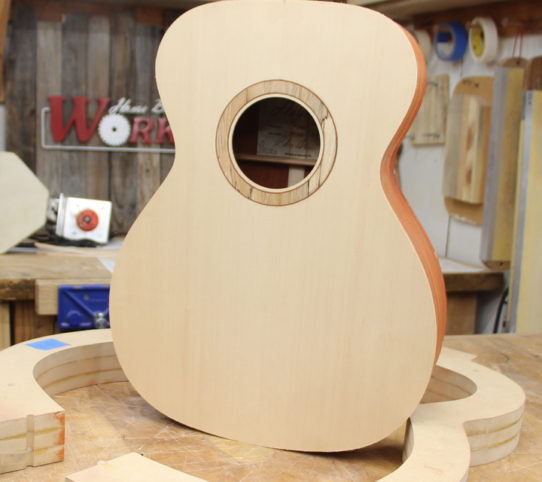
Today’s video for the acoustic guitar is a momentous step. Its time to close the box. Closing the Box is a term us...
READ MORE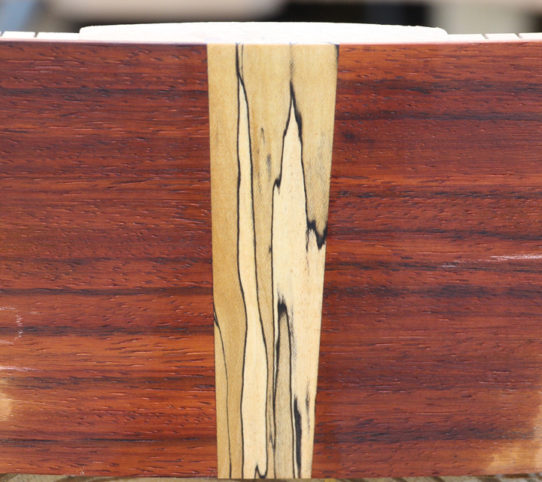
Its time to install the end wedge in the acoustic guitar. The end wedge is a purely decorative element that is designed ...
READ MORE